Disclaimer:
The information provided in this blog post is for general informational purposes only. It is not intended as professional advice and should not be relied upon as such. Always consult with qualified professionals and local authorities before engaging in any outdoor, survival, or homesteading activity. Use caution and exercise personal responsibility when working with tools, fire, wild foods, or unfamiliar environments. The author and publisher assume no responsibility or liability for any injuries, damages, or losses that may result from the use or misuse of the information provided here. Participation in outdoor activities is done at your own risk.
Building a small bushcraft camp doesn’t need to be complicated or expensive. You don’t need to pack in a pile of gear or haul a generator out into the woods. If you’ve got a sturdy knife, a hatchet, and some patience, you’ve already got what you need to get started.
The goal here isn’t to build something fancy. It’s to set up a basic shelter and work area that gives you cover from the weather and a spot to rest, cook, or get yourself together. Done right, it teaches you a lot about the land, your tools, and your own limitations.
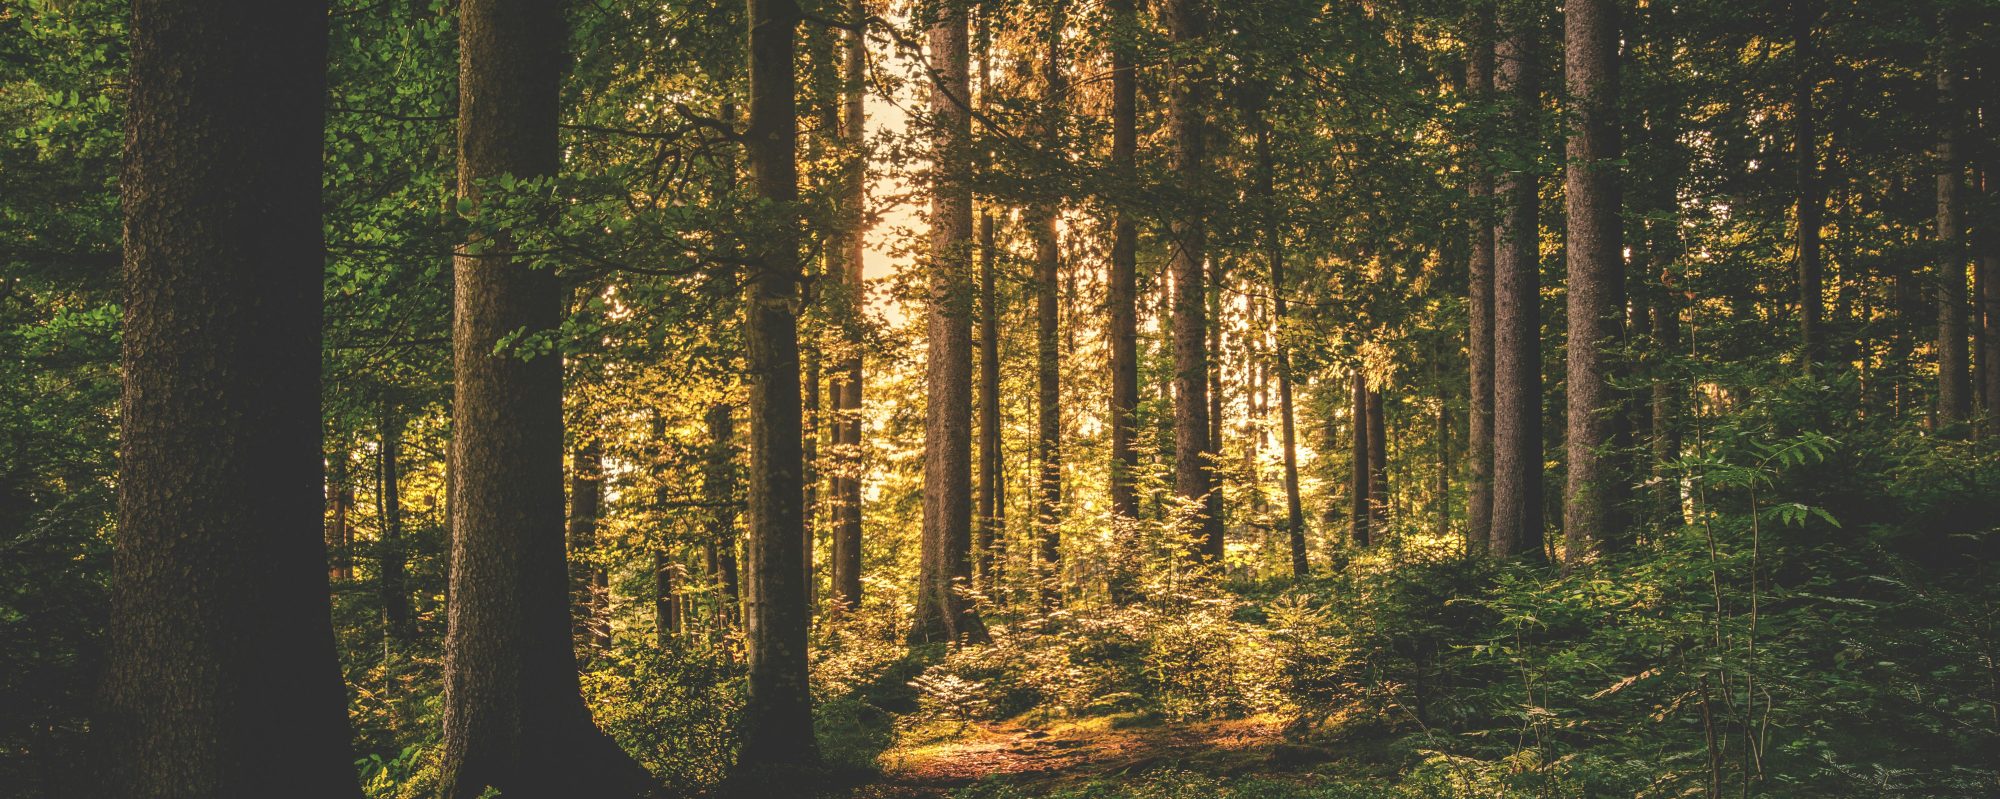
Start with location. Look for a spot with natural windbreaks, some tree cover, and dry ground. Avoid low areas that collect water when it rains. Pick a place near a good supply of downed limbs and deadwood so you don’t waste your energy dragging logs from half a mile away. If camping under trees, always search the area for widowmakers. These are dead or unstable branches that can fall without warning, especially in wind or under the weight of snow. They’re dangerous because they can cause serious injury or death if they fall on someone, hence the grim nickname.
Your first shelter doesn’t need to be more than a simple lean-to. Use a ridgepole balanced between two forked sticks, or lash it to two trees if you have the material to do so. Stack smaller limbs against one side at an angle, then layer it with leaves, bark, or pine or cedar boughs to help block wind and rain. You can make a raised bed out of logs and cover it with grass or pine needles to keep off the cold ground. Remember, a ruffage bed should be as thick as your arm is long to keep your body heat from leaving into the ground too quickly.
For a fire area, clear a space down to bare dirt. Circle it with stones if you have them. Use a small tripod made from branches to hang a pot, or lay some stones in or around where the fire will be to rest a pan. It’s not fancy, but it works.
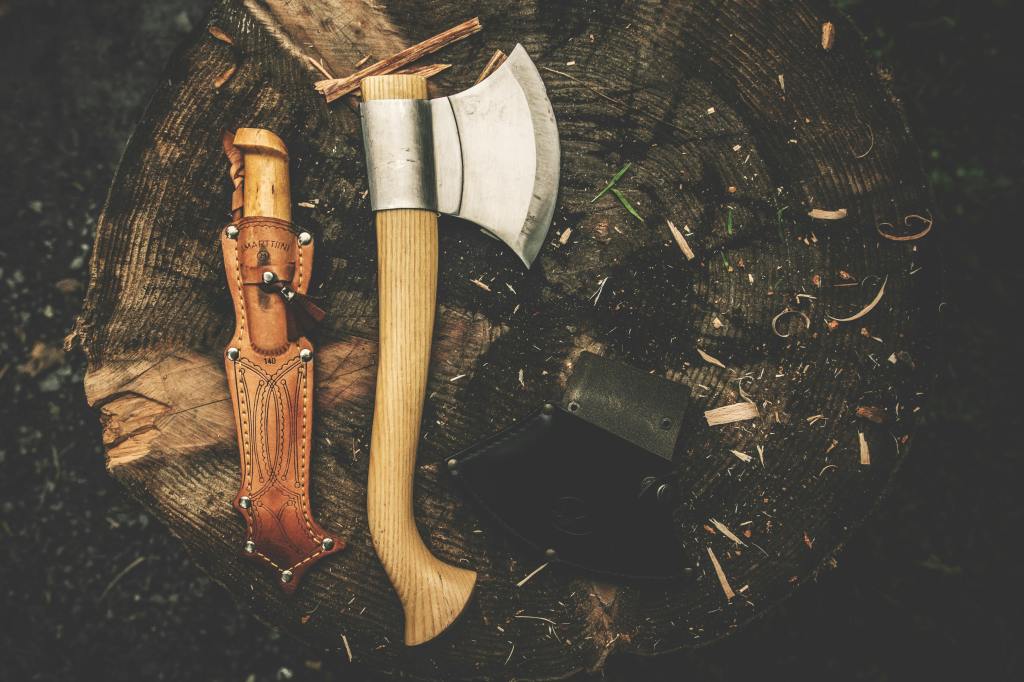
Keep the tools simple. A strong fixed-blade knife and a hatchet are enough to cut, split, shape, and notch what you need. If you know how to tie a few strong knots (start with bowline, it’s easy and super useful) and use some cordage wisely, you can do a lot more than folks think. The more you work without modern tools, the more you figure out how to make what you have do double duty.
The real value of building this kind of camp isn’t just having a place to sit. It’s the practice. You start to understand how wood behaves, how weather hits a certain slope, and how fire reacts to wet air or dry sticks. You learn how to make do and how to keep things simple. That’s the kind of skill that sticks with you.
Don’t feel like you have to disappear for a week to try this. Start in the backyard. Try setting up a lean-to and a small fire ring if your local ordinances allow. Spend an evening out there. You’ll see what works and what doesn’t, and you won’t be far from dry clothes or clean water if something goes sideways.
The more you do this, the less gear you find yourself packing. You begin to understand the value of a good stick, a dry patch of ground, and a sharp edge. That’s what bushcraft is really about; working with the land, not against it.
